The guide to laminar flow..
+4
Hoarp001
FunTraxDJ
John
liteglow
8 posters
Page 1 of 1
 The guide to laminar flow..
I want to make a guide to the perfect laminar nozzle..
I want to include a picture of the nozzle itself, and to NAME all parts (in english), so it should be more easy to know what parts we are discussing
Please post any correction you want to make, both in the picture and the post.
**1" is equal to 2.5 cm**
My first attempt was a 4" diameter nozzle. I got mine working and it seemed to be about the same amount of flow/output that you were getting just before it would break up. I never really developed the 4" nozzle correctly because I realized that I wanted about 2-3 times the distance that I was getting so I decided to upgrade. **Note: I BELIEVE that the 4" is probably capable of a 3ftx3ft arch.**
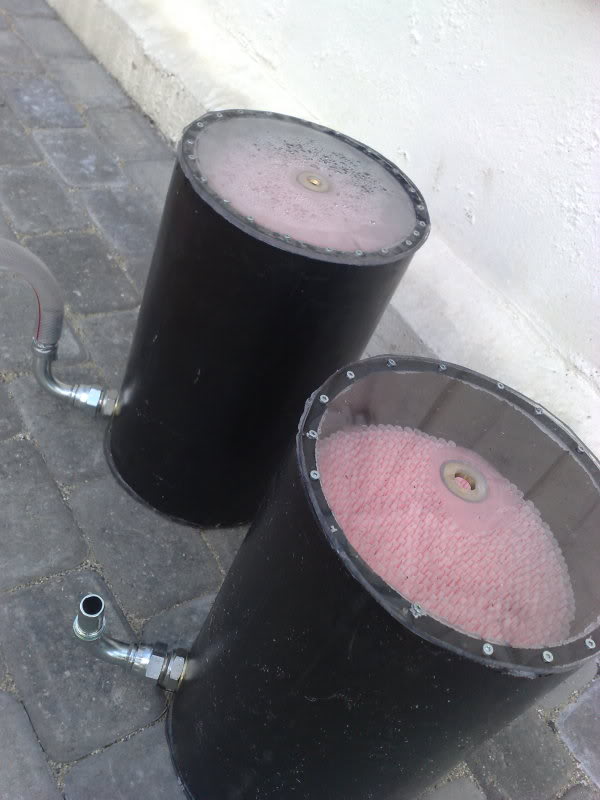
My current design is an 8" nozzle, and very very long. The overall length is somewhere between 20" and 22". The overall distance isn't really known because it doesn't matter. What does matter is the internal guts of it and the length thereof.
From inlet to outlet.
1. First chamber is a 2" chamber of empty space. **The water enters tangentially into the chamber and swirls around. **
2. Second 2" filter chamber
3. Third 2" chamber of empty space
4. Fourth 7.75" of regular size drinking straws
5. Fifth 2" of empty space.
Total length is 15.75" long. I left plenty of space at the top and bottom of the pipe just in case of something happened and I needed more.
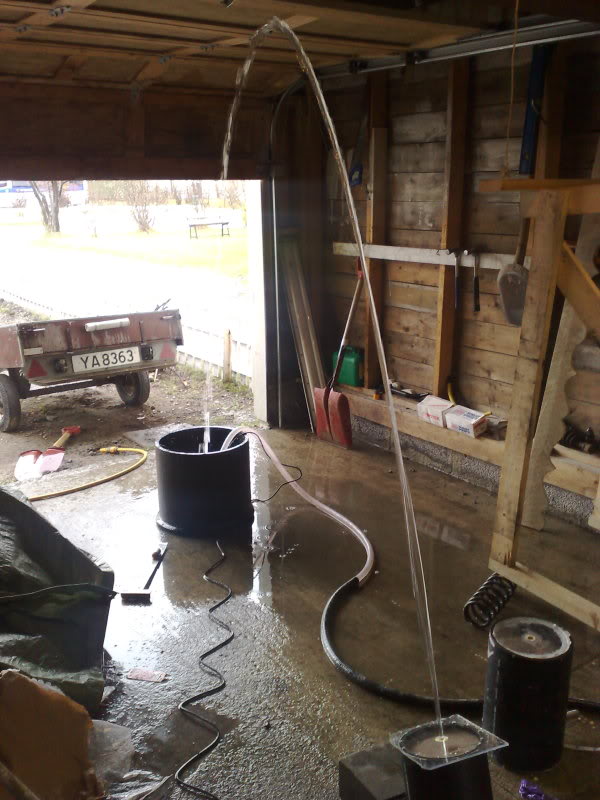
I believe that the total length can be cut down if you are willing to sacrifice some of the clarity in the nozzle at the upper end of it's range. I wasn't. I haven't even fully tested my to find out what the maximum length is, but what I do know is that it will reach and arc of 4.5 ft high, and about 12 ft long without so much as a blemish in it. I'm not saying that to brag. I just want to let you know that when you sacrifice length you sacrifice the clarity.
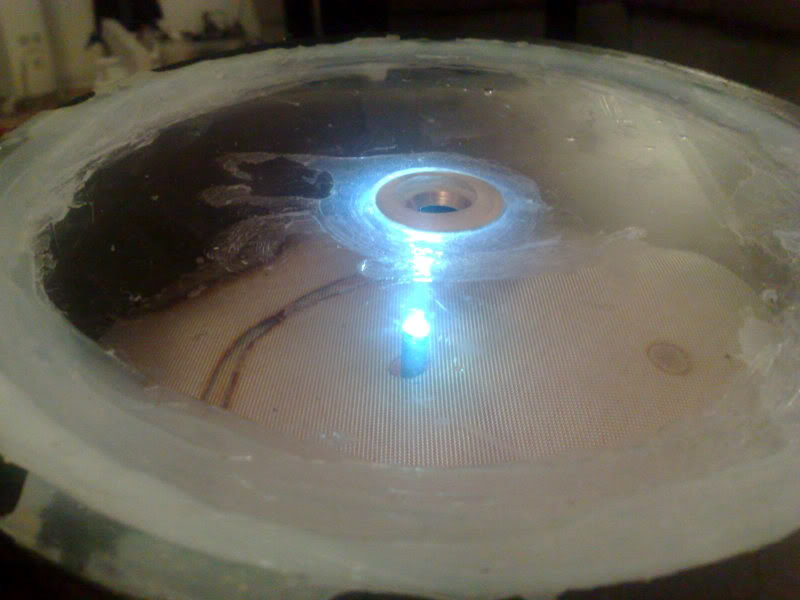
Each chamber is sectioned of by using window screen material (mine happens to be a vinyl type material). The screens are held in place by ring that are cut out the 8" diameter pipe.
To make an internal ring:
Once you have cut your ring to the desired thickness, then simple cut it once. Insert it into the pipe and measure the distance mark it, but DO NOT CUT IT THERE. Cut it so that the ring will be too big still. That way if you screw up at least you can cut it again. I have my rings so that they are a bit too tight and you really have to push them hard to get them to fit inside. Once they are inside they move easier.
So according to my chamber dimensions, I have 5 rings, 4 of which are 2" in length, and one that is 7.75" long. There are those that don't have a ring for the straw section. I don't know which is better.
Besides the lengths of the chambers, the two biggest factors as to getting your nozzle to shoot as far as you want it too is to have.
Other important factors:
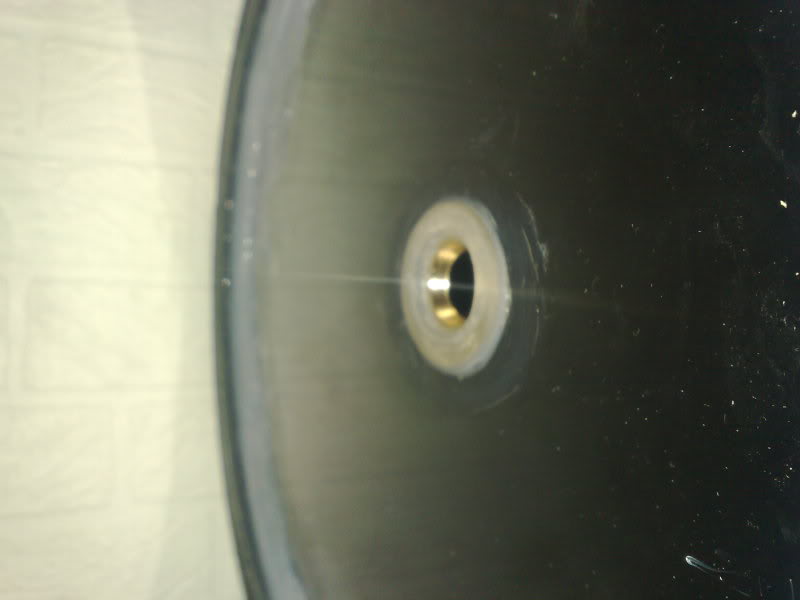
1. The exit nozzle will be an important part to getting your nozzle to look laminar all the way through. If you don't have a perfect circular hole then the exit nozzle will add turbulence to the stream. The exit nozzle must have an opening like a V. The reason for this is that the water wants to stick to anything due to surface tension. The less surface for the water to stick to the easier it will be for the water to remain laminar. As far as I know, you can have any size output diameter, but my understanding is the larger the diameter the more difficult to get it to remain laminar. I recommend staying somewhere in the range of 0.5 inches in diameter.
2. The tangential input. The input really should be non-axially. The reason being is you are forcing the water to move faster in the center, and that is bad. The entire object of the laminar nozzle is to get the water to move at the same speed. If you are forcing the water to move faster through the center then you are defeating yourself.
3. Low pass filter. If you are using a pump (and maybe even some taps from the house) you need to have a low pass filter in order to have the water remain constant. A pump isn't entirely constant. It pulse the water. In order to smooth that pulsing out to a constant flow you need a low pass filter. They are simple to build.
4. Air Bleeding valve. You need to have some sort of valve (whether it be a manual as mine is, or a automatic like magic's valve) which will allow air to escape. When you first turn on your nozzle it is full of air, as it begins to fill up most of the air will escape through the nozzle, but not all of it. The air bleeding valve will allow the rest of the air to escape. This will help the laminar stream as well.
They are pretty simple. All you need is something that will allow the air to pass but not the water. Mine is manual (for the time being). It's just a valve that is used for the water dispenser for the refrigerator. It's nothing special. Magic has something that is much better because it is automatic.
(Source: John)
 Re: The guide to laminar flow..
I would name #1 the "non-axial input pipe" and #2 the "non-axial input adapter." I don't know. Also it might be a good idea to include a box or something to represent the air bleeding valve. Maybe place it on the top plate or place it on the nozzle.
Looks good Thanks!
Looks good Thanks!
 Low pass filter
Where do I find or how do I build a low pass filter?
FunTraxDJ- Nozzle Newbie

- Posts : 6
Join date : 2010-05-09
 Re: The guide to laminar flow..
For the time being you can look up the video parabolaqueous on youtube by Zachary Carpenter. He gives a good description of the low pass filter. There are a couple of different ways to filter it, but his is pretty simple.
 Re: The guide to laminar flow..
Hi Liteglow,
I was on here a while ago, building a small jet. It got so cold outside I paused the project until it was a bit warmer, and now it is so I am re starting the project.
I have done some cad designs for a nozzle based on your specs you have in your original post. I am going to use 8inch acrylic tube so I can see inside it, and I am going to machine solid nylon or PTFE top caps and use long threaded rods to hold the top and bottom on.
I am going to try and do a tangential water input but since its acrylic its very brittle and a bit of tube that size is expensive so I don't wat to screw it up. I might try and machine something to hold the tube in.
Anyway, I am going to CNC turn a stainless steel output jet, and I am wondering what the size is of your output nozzle? I have put it on my cad drawings at 15mm, which looks about right.
My pump is not huge, and the space I have is not huge either, and the arc I need is not as big as yours. Im looking for about 5ft from jet to pond, and a height of about four feet. My pump is not massive, so Im wondering if I can adjust the size of the output nozzle to make the jet go as far as I need.
I don't want to invest loads in a pump, the one I have is a Blagdonsomethingsomething, it was about 30 quid off ebay. It works well and im getting a good flow out of it, hopefully it will have enough whelly to get the arc I need.
I also have plans for the lighting, I am going to CNC a block that holds the diodes to provide a nice heat sink, and probably a PTFE block with holes in that holds the PMMA fibre onto the diodes.
I am lucky to have so much CNC equipment at my disposal though my 'day job' so I am going to try and make a real go of this and see how I get on...
This is my previous attempt: https://www.youtube.com/watch?v=52UP8l7cisQ&feature=channel_video_title
Any advice would be great,
Pete.
Hoarp001- Nozzle Novice

- Posts : 70
Join date : 2010-08-31
 Re: The guide to laminar flow..
Info on sticks like shit:
http://www.screwfix.com/p/sticks-like-sh-t-290ml/22070
It will hold the entire jet together probably.
http://www.screwfix.com/p/sticks-like-sh-t-290ml/22070
It will hold the entire jet together probably.
Hoarp001- Nozzle Novice

- Posts : 70
Join date : 2010-08-31
 Re: The guide to laminar flow..
Hello to everyone. I am new to the forum and I am having a really hard time with some of the picture on here. Is anyone else getting this? I have tried different browsers and different computers but I still can't get the images to load.

Diterex- Nozzle Newbie

- Posts : 1
Join date : 2011-09-06
 Re: The guide to laminar flow..
yes i see the same thing as you, just a big blank spot where the movie should load.
but only on this one , i can see the rest of the forum just fine.
but only on this one , i can see the rest of the forum just fine.
jahroen- Nozzle Newbie

- Posts : 14
Join date : 2011-08-20
Age : 54
Location : Nederland Rotterdam
 Re: The guide to laminar flow..
sorry there is nothing wrong with your browser etc..
The problem is that the IMG HOST to this image is off-line !
So I need to find that picture (flash file .swf) and upload it to another source
Cheers
The problem is that the IMG HOST to this image is off-line !
So I need to find that picture (flash file .swf) and upload it to another source
Cheers
 Re: The guide to laminar flow..
Can you upload the picture again?
Tailgunner- Nozzle Newbie

- Posts : 1
Join date : 2012-07-14
 Re: The guide to laminar flow..
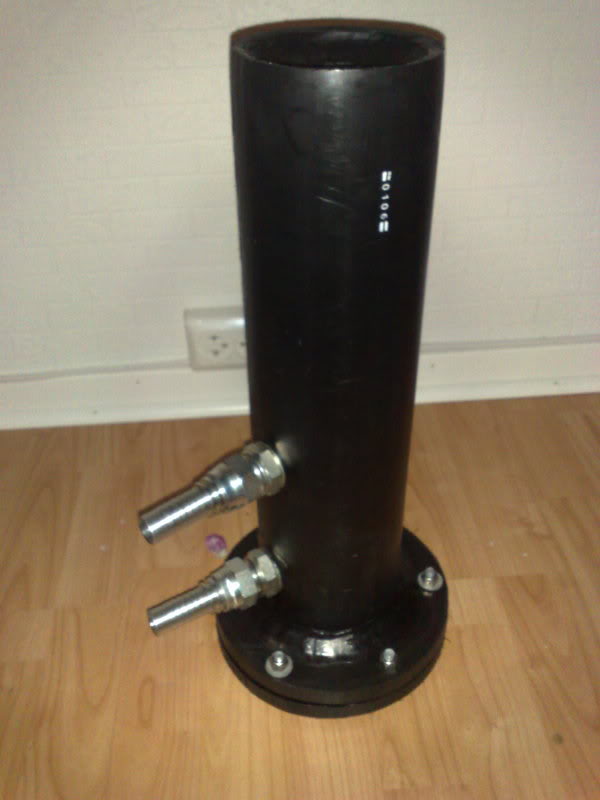
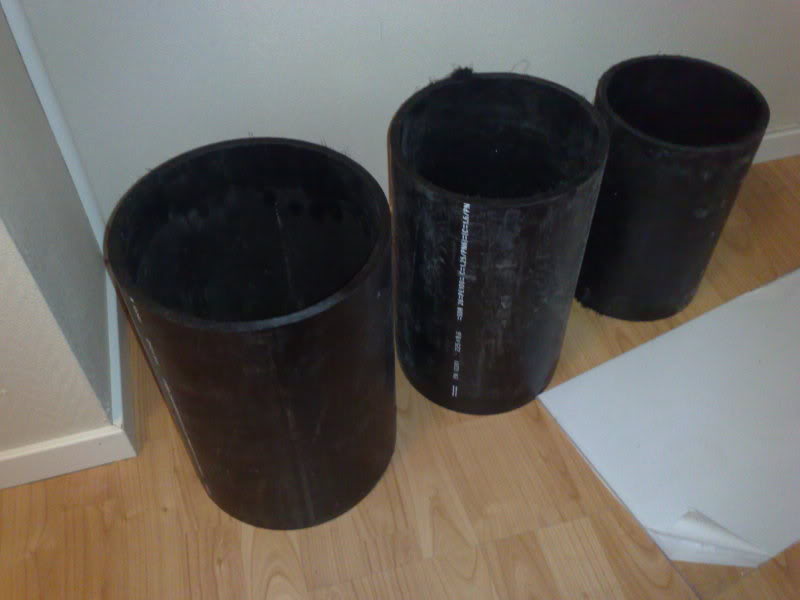
here is some picture (in random order)



https://2img.net/h/i468.photobucket.com/albums/rr42/liteglow2000/290420102126.jpg
https://2img.net/h/i468.photobucket.com/albums/rr42/liteglow2000/280420102125.jpg


https://2img.net/h/i468.photobucket.com/albums/rr42/liteglow2000/290420102126.jpg
https://2img.net/h/i468.photobucket.com/albums/rr42/liteglow2000/280420102125.jpg
 low pass filter
John wrote:I would name #1 the "non-axial input pipe" and #2 the "non-axial input adapter." I don't know. Also it might be a good idea to include a box or something to represent the air bleeding valve. Maybe place it on the top plate or place it on the nozzle.
Looks good Thanks!
Dear Sir
I want to know low pass filter in laminar water jet, how to built low pass filter in laminar nozzle?
area at bottom, where water inlet or area at top, where nozzle, where low pass filter built?
i tried laminar jet, but after some distance water is spread, not good laminar .
result is I need to built low pass filter to get proper laminar jet.
Please guide me about laminar nozzle along with sketch and dimensions.
Your reply is appreciated
Dr. C S Sharma- Nozzle Newbie

- Posts : 5
Join date : 2021-03-16
 Re: The guide to laminar flow..
You need to have a air tank.
Water inlet bottom, outlet halfway on the tank.
And the laminar nozzle need to be big in diameter to get a good result.
I stopped making myself, and buy cheap frol China. Quality is quite good.
Water inlet bottom, outlet halfway on the tank.
And the laminar nozzle need to be big in diameter to get a good result.
I stopped making myself, and buy cheap frol China. Quality is quite good.
 Re: The guide to laminar flow..
liteglow wrote:You need to have a air tank.
Water inlet bottom, outlet halfway on the tank.
And the laminar nozzle need to be big in diameter to get a good result.
I stopped making myself, and buy cheap frol China. Quality is quite good.
Thanks for prompt reply Sir
Can you hand sketch of air tank please?
leepsa@gmail.com
Dr. C S Sharma- Nozzle Newbie

- Posts : 5
Join date : 2021-03-16
 Similar topics
» Output side of laminar nozzle
» What can cause the laminar flow to break?
» My first try at a laminar flow nozzle
» For what reason can the laminar flow be dispersed?
» Making a laminar flow 2 m high and 4 m far
» What can cause the laminar flow to break?
» My first try at a laminar flow nozzle
» For what reason can the laminar flow be dispersed?
» Making a laminar flow 2 m high and 4 m far
Page 1 of 1
Permissions in this forum:
You cannot reply to topics in this forum
