Water proof enclosure for the LED’s.
Page 1 of 1
 Water proof enclosure for the LED’s.
Water proof enclosure for the LED’s.
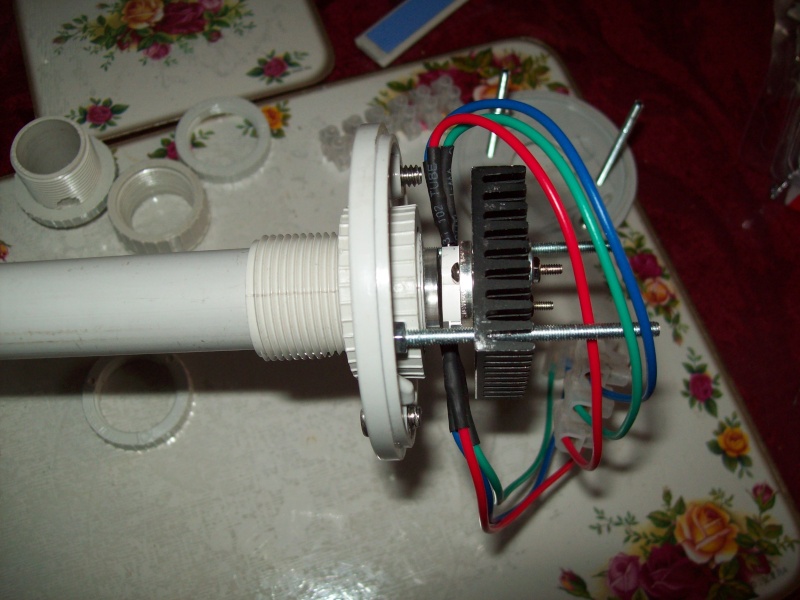
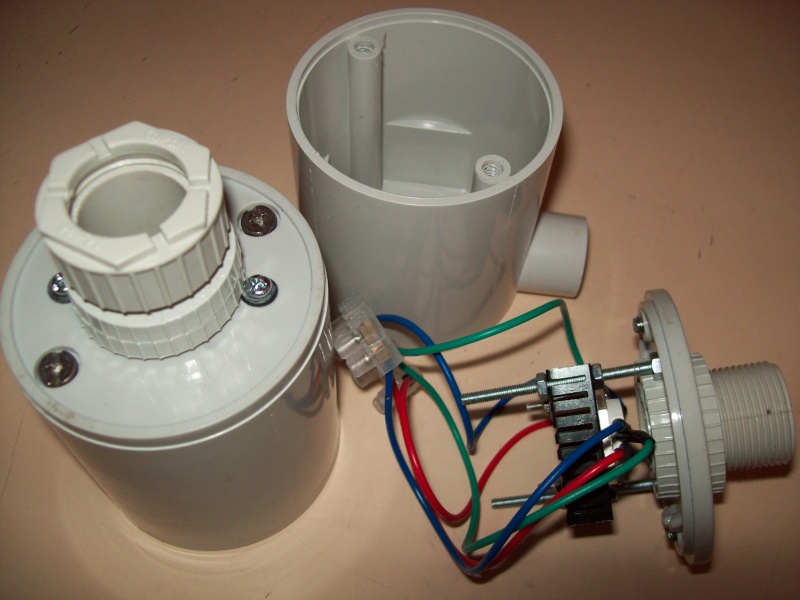
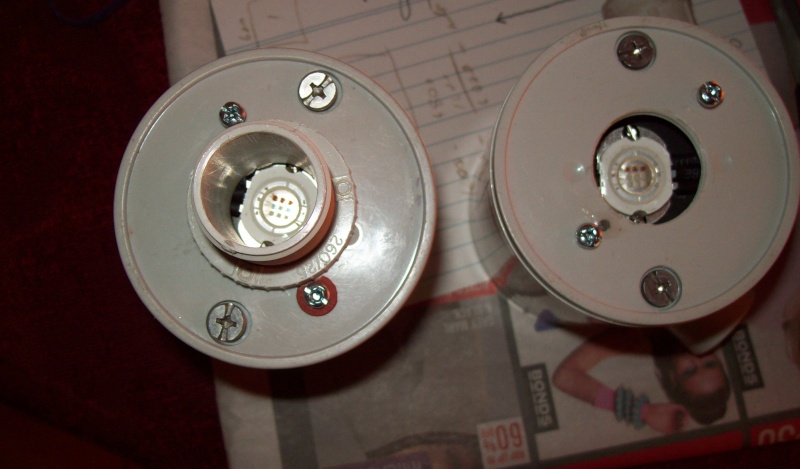
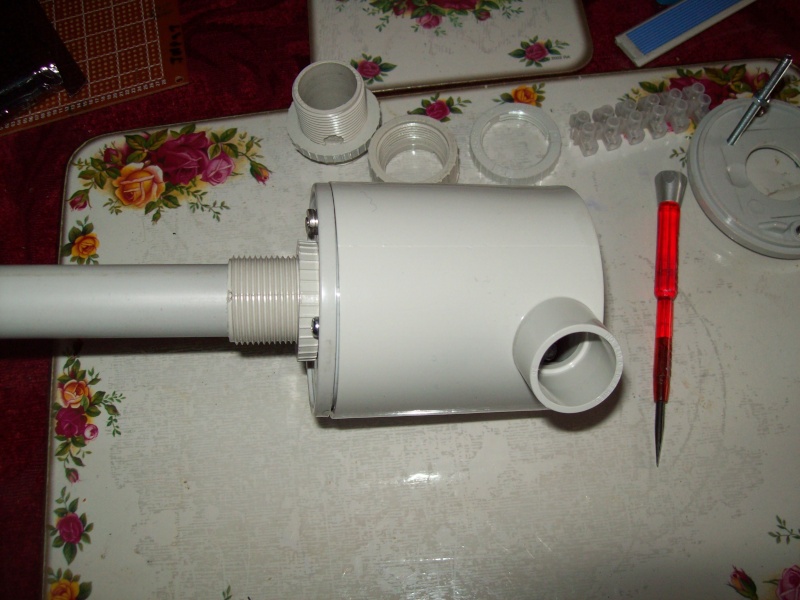
The major thoughts were that the enclosure was easily accessible for repairs if necessary & water proof. If parts do break down they should be readily available as making custom parts could become a problem when repairs are necessary. Did have to modify a few of the parts, mostly with hand tools.
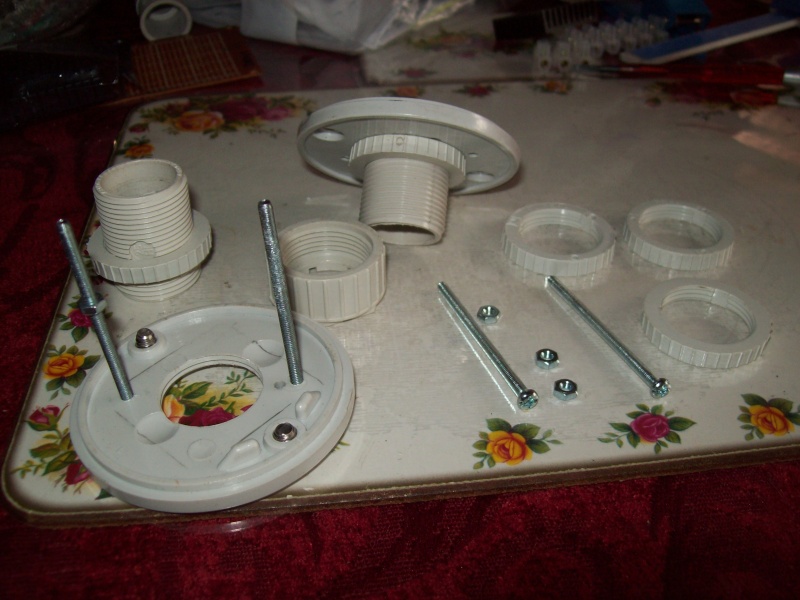
These are the bits and pieces I used here “Down Under”. Most of the fittings were electrical heavy duty (PVC) as we use them in most of the electrical connections and they should last at least 10 -15 yrs when exposed to Mother Nature.
The LED’s were from LED2007 via EBay and cost ~ $17 (Aus) for a 10W RGB. May be cheaper now? Purchased last year! These are immensely bright and will do the job very effectively. You can use any size up to 30mm in diameter just need a larger heat sink and heat transfer paste between the LED and Heat sink..
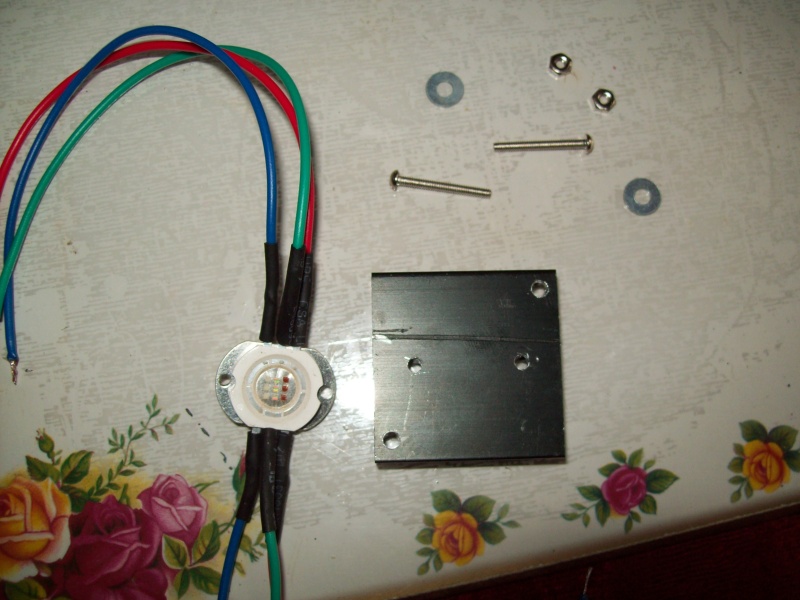
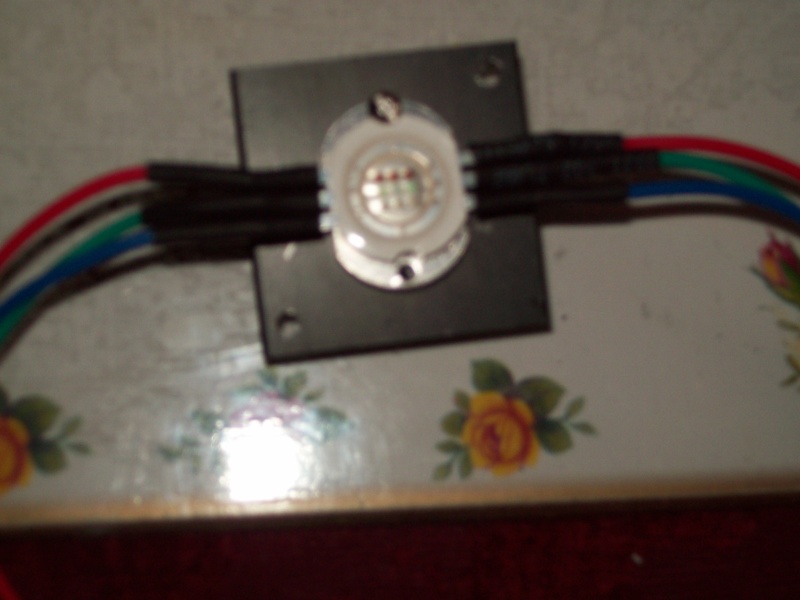
I bought a 10 pack of heat sinks for ~$7.00 again EBay and, used two for prototypes (Experimenting for hole sizes placement e.t.c.) and two for the actual build.
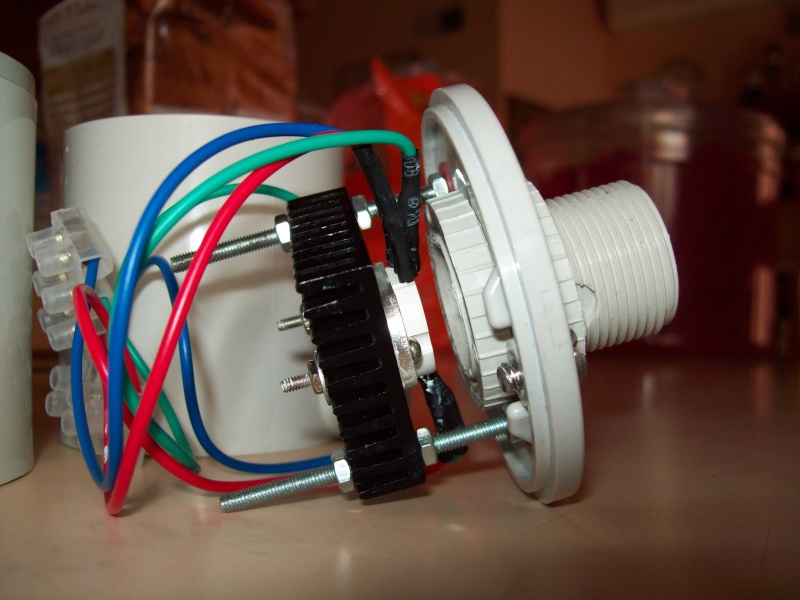
I used stainless steel bolts and nuts (316 marine grade) a little more expensive but should last the distance.
You can pick up a small box of “O” rings from your local hardware store. Not more than a few dollars.
I bought the RGB controller for PC Board – CANADA and it is a very small board and can be put together with a little soldering knowledge. I do believe you can buy them built up from the same supplier.
The RGB controller sits in the electrical enclosure and I got my sparky friend to run a 6 core alarm cable capable of carrying 35 – 110 volts. Bit of an overkill. Probably use a smaller core diameter cable capable of carrying 12V. The Led’s also come with a common anode single leg which reduces the cores from 6 to 4.
I had taped and threaded most of the fittings but, on completion realised that they can be glued together and would work just as well.
Once assembled they will fit together compactly and, if necessary just put a bit of duct tape around the seal for added protection.
The major thoughts were that the enclosure was easily accessible for repairs if necessary & water proof. If parts do break down they should be readily available as making custom parts could become a problem when repairs are necessary. Did have to modify a few of the parts, mostly with hand tools.
These are the bits and pieces I used here “Down Under”. Most of the fittings were electrical heavy duty (PVC) as we use them in most of the electrical connections and they should last at least 10 -15 yrs when exposed to Mother Nature.

The LED’s were from LED2007 via EBay and cost ~ $17 (Aus) for a 10W RGB. May be cheaper now? Purchased last year! These are immensely bright and will do the job very effectively. You can use any size up to 30mm in diameter just need a larger heat sink and heat transfer paste between the LED and Heat sink..


I bought a 10 pack of heat sinks for ~$7.00 again EBay and, used two for prototypes (Experimenting for hole sizes placement e.t.c.) and two for the actual build.


I used stainless steel bolts and nuts (316 marine grade) a little more expensive but should last the distance.
You can pick up a small box of “O” rings from your local hardware store. Not more than a few dollars.
I bought the RGB controller for PC Board – CANADA and it is a very small board and can be put together with a little soldering knowledge. I do believe you can buy them built up from the same supplier.
The RGB controller sits in the electrical enclosure and I got my sparky friend to run a 6 core alarm cable capable of carrying 35 – 110 volts. Bit of an overkill. Probably use a smaller core diameter cable capable of carrying 12V. The Led’s also come with a common anode single leg which reduces the cores from 6 to 4.
I had taped and threaded most of the fittings but, on completion realised that they can be glued together and would work just as well.
Once assembled they will fit together compactly and, if necessary just put a bit of duct tape around the seal for added protection.
Mr D- Nozzle Newbie

- Posts : 8
Join date : 2009-10-20
Location : Melbourne OZ
Page 1 of 1
Permissions in this forum:
You cannot reply to topics in this forum